Sunday, February 24, 2013

Applying my lessons from the Road

At Road to CA, I took several classes, and on this little denim quilt I was able to put some of it to actual use.

One of my first classes was with Angela Walters, called Beyond Feathers.  This is my take on her designs.
Waves and swirls, with straight lines to set it off.  Also my attempt at wood grain, which would look better had I SID.  Yep, it seems SID  is necessary even on a picnic type quilt. 
Large pebbles, concentric circles and swirls.  I found that large pebbles were much more difficult for me than small ones.
And another swirl design designed by Angela.

A class from Dawn Cavanaugh was Feathers as Fillers.  Here is what I did with that.

I had so much fun applying my lessons, and seeing them stitched out was encouraging to me.  The samples I stitched out in class did not look good, most of them looked pretty bad.  I struggled with this for a bit, then I decided that it was due in large part to using different machines that I was not familiar with, and a learning curve.  Either way, it was good to get home and stitch them out with success.

Thanks for stopping by, I appreciate your company, and your comments.

Esther

Wednesday, February 20, 2013

Not much new

Everything is going smoothly around here, but there isn't much to post about.  I have done a few Jane Blocks,


And, I want to show you one of my favorite sewing tools.  I use wooden manicure stick as a stiletto to help hold seams, guide fabric and act as an extra finger.
These little sticks work so well for me, they fit my hands, are easy to use, and they are inexpensive if and when I loose them.  I have tried other types of stilettos, and actually used this manicure stick by accident, and liked it so well, it is now my go to tool.

That's all I've got for today, thanks for stopping by.

Esther

Thursday, February 14, 2013

Happy Valentine's Day

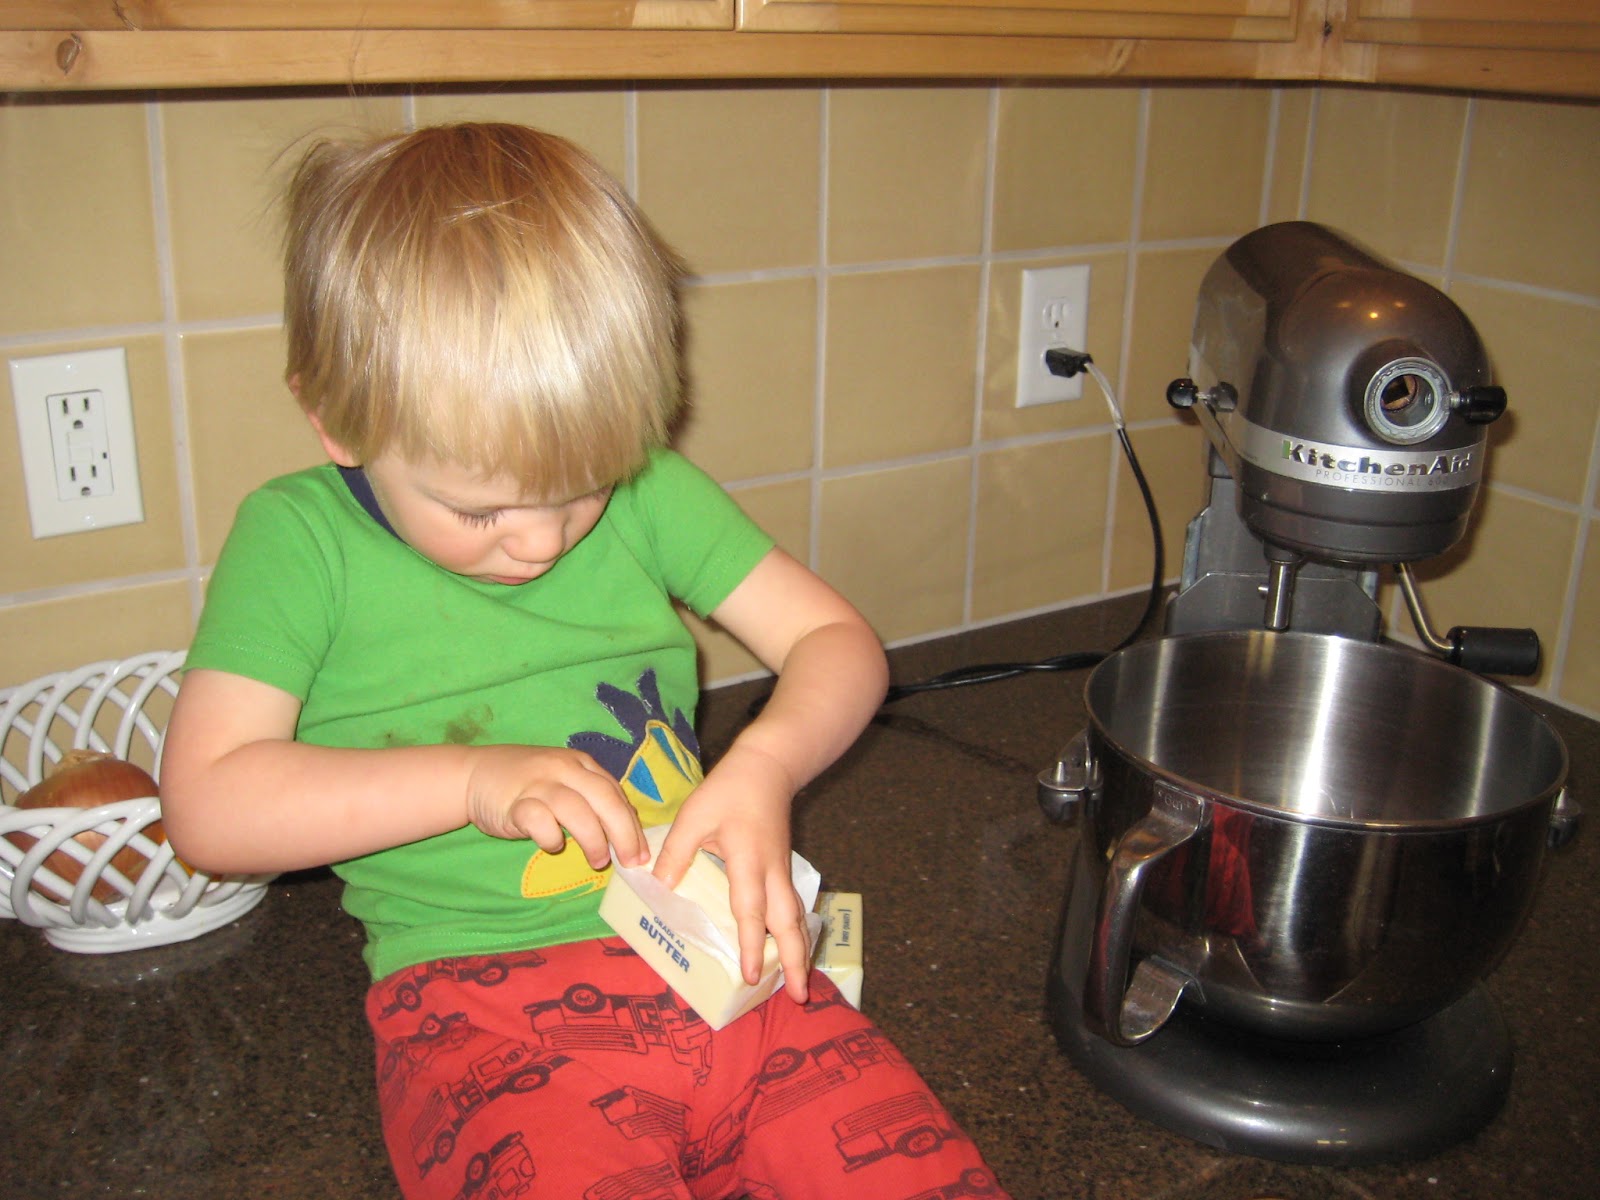
Ethan's Sugar Cookies

Open two cubes of butter,
mix with two cups of sugar
mix well and add 2 large eggs and 2 tsp. vanilla. 
Add in 4 cups flour, 1 tsp baking soda and 1/2 tsp salt and mix well.
 Roll out dough

 Cut out cookies with assorted cookie cutters 
Bake at 325 for about 15 minutes
Wait patiently while cookies bake.
Cool on rack and prepare frosting
 Confectioners sugar and water
Add food color and divide into decorator bags.
Lots of sprinkles and let the fun begin


 Yum
Yum
And done.

Happy Valentine's day to you,

Esther

Wednesday, February 13, 2013

Star Quilt finished and gifted

 The Star Quilt is finished, and I can say that I loved everything about this quilt.  I loved making stars from a Jelly Roll, something I learned from a Craftsy.com class.  I loved the fabric, Morris Apprentice from Moda, and I loved how I quilted it.  I think the underlying joy in this quilt was knowing that it was being made for someone special.
 Kristen is one of Ethan's teachers, and she has worked with him daily for the last year.  My daughter and I wanted to give her a thank you gift, so we thought a quilt a great idea.
Her dedication to her job and to Ethan goes above and beyond.  Kristen was a gift to Ethan and all of us who love him.
 Here she is reading the label of her quilt.
I think she looks good with her new quilt.  
And here is Kristen playing "where is Ethan?" in the new quilt.

Thank you Kristen, and to all of you sharing this journey with me.  I appreciate it.

Esther

Sunday, February 10, 2013

Happy Birthday Ethan


Not much explanation needed here.  Ethan is three years old.  Life is so very good.

Thanks for sharing this special day with me.

Esther

Thursday, February 7, 2013

Star quilt progress

I am loving this quilt.  While it is taking longer than I thought, (don't they always take longer than we think they will?) I  am enjoying every aspect of the quilting progress.  I have put many of the things I learned on the Road into practice while quilting this, and I can see progress in my own quilting.  Here are several pictures to share with you.
Showing off the ditch work, and the before quilting shot.
The after shot.  I love how the texture shows up in the angle shots.


The star design was inspired by my class with Jamie Wallen at Road.
 All feathers were done freehand, so they are all different.
 The general pattern of the feathers is the same, but I added variations to them.  I just felt that with so many feathers, if they were all exactly alike, things would look too predictable, and it would loose interest.


An overall shot.

Here is a tip I learned at Road from Dawn Cavinaugh when doing feathers as fillers or in a border.
Pick a direction you like to work with.  I like clockwise, so that is my new standard.  All the feathers in each individual block spin clockwise, so I didn't have any feathers going backwards.  This is helpful when doing feathers in a border also.  I have done feathers across the top of my quilt from left to right, gotten to the bottom of the quilt and repeated that same direction, so that somewhere I have feathers running into themselves.  If I now stick to my rule of having feathers move clockwise, when I get to the bottom border I will stitch the feathers right to left.  This "rule" also saves confusion if you turn your quilts to do your borders. Apply the same principle when turning your quilt, always turn it the same direction.

And on a completely different topic, but just for fun here is Micah and her baby brother Zeb.
Micah's mom asked her to get a toy for Zeb to look at.  We think she picked the toys that could look at Zeb.  All the cars have faces and they are all facing Zeb.

Thanks for reading and sharing my quilt journey.  I appreciate it.

Esther

Sunday, February 3, 2013

My best recycle ever

So, I made a leather backpack from .......drum roll please........my old couch!   Yep, my old couch.

We had this leather couch that was beyond donating. Everything about this couch was worn out, torn or in some other state of disrepair. Everything that is except for the back of the couch.  Now the back was in great shape, and all I saw was a large piece of leather.  Before we got rid of the couch I took my razor blade knife and cut the entire back off, figuring I would use it for something someday.


I was able to stitch it all on my regular sewing machine and a large (16) needle.   Fabric was used for the binding because I didn't know how else to finish the edges, and I like how it looks.  I am so pleased with this project, and I am so excited to share it with you.   This backpack makes my day extra super sparkly.

Thanks for reading, I appreciate it,
Esther